

This site contains affiliate links. As an Amazon Associate, I earn a commission from qualifying purchases at no extra cost to you. Full Disclosure Here.

Its been a heck of an interesting ride for me. For the last 15 years, I have been using sharp knives on a daily basis. My very livelihood counted on sharp knives and a using a sharpening stone.
As a chef, my knife roll followed me from kitchen to kitchen. Just like a mechanic’s tools, a chef’s knives are varied and important to the success of that individual.
- Chef’s Knife
- Fish or Boning Knife
- Slicer
- Paring Knife
- Serrated Knife
These were all unique tools that were essential to cutting through that massive prep list before the bell of dinner service rings. At which point war begins!
This could be using that slicer to break down a side of tuna, mincing fresh herbs with the Chef’s knife, slicing bread with that serrated edge or pairing simple garnish for an entrée.
There were two other tools that good knife roll often contained, a honing steel and a sharpening stone.
Now I use my retired chef’s knife to slice chicken and cilantro or mince garlic. I am just a home cook now but my family sure loves it. However, my appreciation for a sharp edge has helped me in my transition to survival and preparedness.
Respecting the Dull Blade
It’s pretty well known that a dull blade is a dangerous blade. I have done severe damage to my fingers using dull blades.
One instance stands out above all, The circumstance was brought on by a pint of grape tomatoes, anxiety and dull chef’s knife.
Alma De Cuba is a swanky Cuban themed restaurant on Walnut Street in Center City Philadelphia. I worked 10-hour shifts 4 times per week through college. It was a well-known restaurant and I learned so much.
We pumped out about 450 meals on a busy night.
The prep work to pull this off took every bit of the two hours you had before dinner service. I worked grill and grill veg so for me it was a wild fury of herb slicing, vegetable processing, rice cooking, asparagus blanching. and some warming of sauces.
On this particular Friday night, I was up against the clock. I had one more pint of cherry tomatoes to slice before I would be at full power. There was always an empowering feeling to have your station at full power and ready for the rush to come. We called it Mis En Place.
Slicing through the last few tomatoes I could tell that my blade was shamefully dull but I was going to bulldog through it and sharpen the knife after service.
Holding a tiny grape tomato, my left thump crept out from behind my other fingers and the knife came down. I had to bring it down harder because the blade was dull. It took the tip of my thump and some nail along with it.
The other line cooks helped piece me back together but it made dinner service much more of a challenge. It was a clean cut. There was nothing to stitch so we gauzed and bandaged and secured the thumb.
The pain of the cut was nothing compared to the pain of making that mistake in front of my high-speed line cook colleagues.
Beware of a dull blade!
Types of Sharpening Stones
Let’s look at the three most popular types of sharpening stones on the market today. These are all very effective but each one has some unique benefits.
It will help you decide which type of stone you want to learn how to use. Most importantly, you will want to treat the stone the way it was designed to be used. Don’t pour oil on a water stone and vice versa.
Water Stones
When it comes to affordability there is no other stone that can be used and kept up at home like the water stone. These stones require water to be poured on them before use.
Many chefs I worked with kept their sharpening stone submerged in water all the time. They would pull it from a small bane and begin the work of sharpening.
The abrasive nature of the stone files away at the blade and your water becomes the swarf.
Swarf is what removes the metal filings.
This type of stone is particularly effective for fast swipes and quick sharpening. However, it also breaks down fast. so the water stone will ware away the fastest.
Oil Stones
The traditional sharpening tool of the Western world, the oil stone has some great qualities. These stones are most often made of aluminum oxide. They are a slower cutting stone. In other words, you will get better results from slower swipes across the stone.
Since the oil becomes the swarf in this process you start dealing with a lot of dirty oil that can make a bit of a mess when using this type of stone.
Diamond Stones
Naturally, diamond stones are the most expensive. They use industrial diamonds that are laid out across the surface. These do not look like diamond rings but they are just as hard.
These are fast cutting stones that do a great job on blades. Look for monocrystalline diamonds as they wind up lasting longer.
How to Use a Sharpening Stone
Now that you have chosen the type of stone you are going to depend on its time to get down to the deed.
STEP 1.)
The very first step is to layout a damp kitchen towel or rag on the countertop or bench you plan on using. This damp rag is going to create stability when you start running the blade across the stone.
Otherwise, you will experience a lot of movement with the stone and sharpening will not only be harder but it will become dangerous.
STEP 2.)
Lay your desired stone onto the damp rag so that no part of the stone is hanging off or is off balance. At this point, you might need to prep your stone, too.
A little extra oil poured on the top of an oil stone and smoothed out with your finger will do the trick on most oil stones.
A tablespoon of water over the wet stone will likely do the trick there. Your wet stone has likely been stored in water anyway, so this step might not be as necessary.
If you are using a diamond stone then you will not need this prep work.
STEP 3.)
At this point, you are going to find the knife you want to sharpen and use it to find a 20-degree angle. The 20-degree angle, for sharpening, will lend itself to most blades.
Don’t go hunting for the protractor as this doesn’t have to be exact. Instead, you can simply place the point of the knife straight down onto the stone. The handle of your knife should be pointing directly at the ceiling.
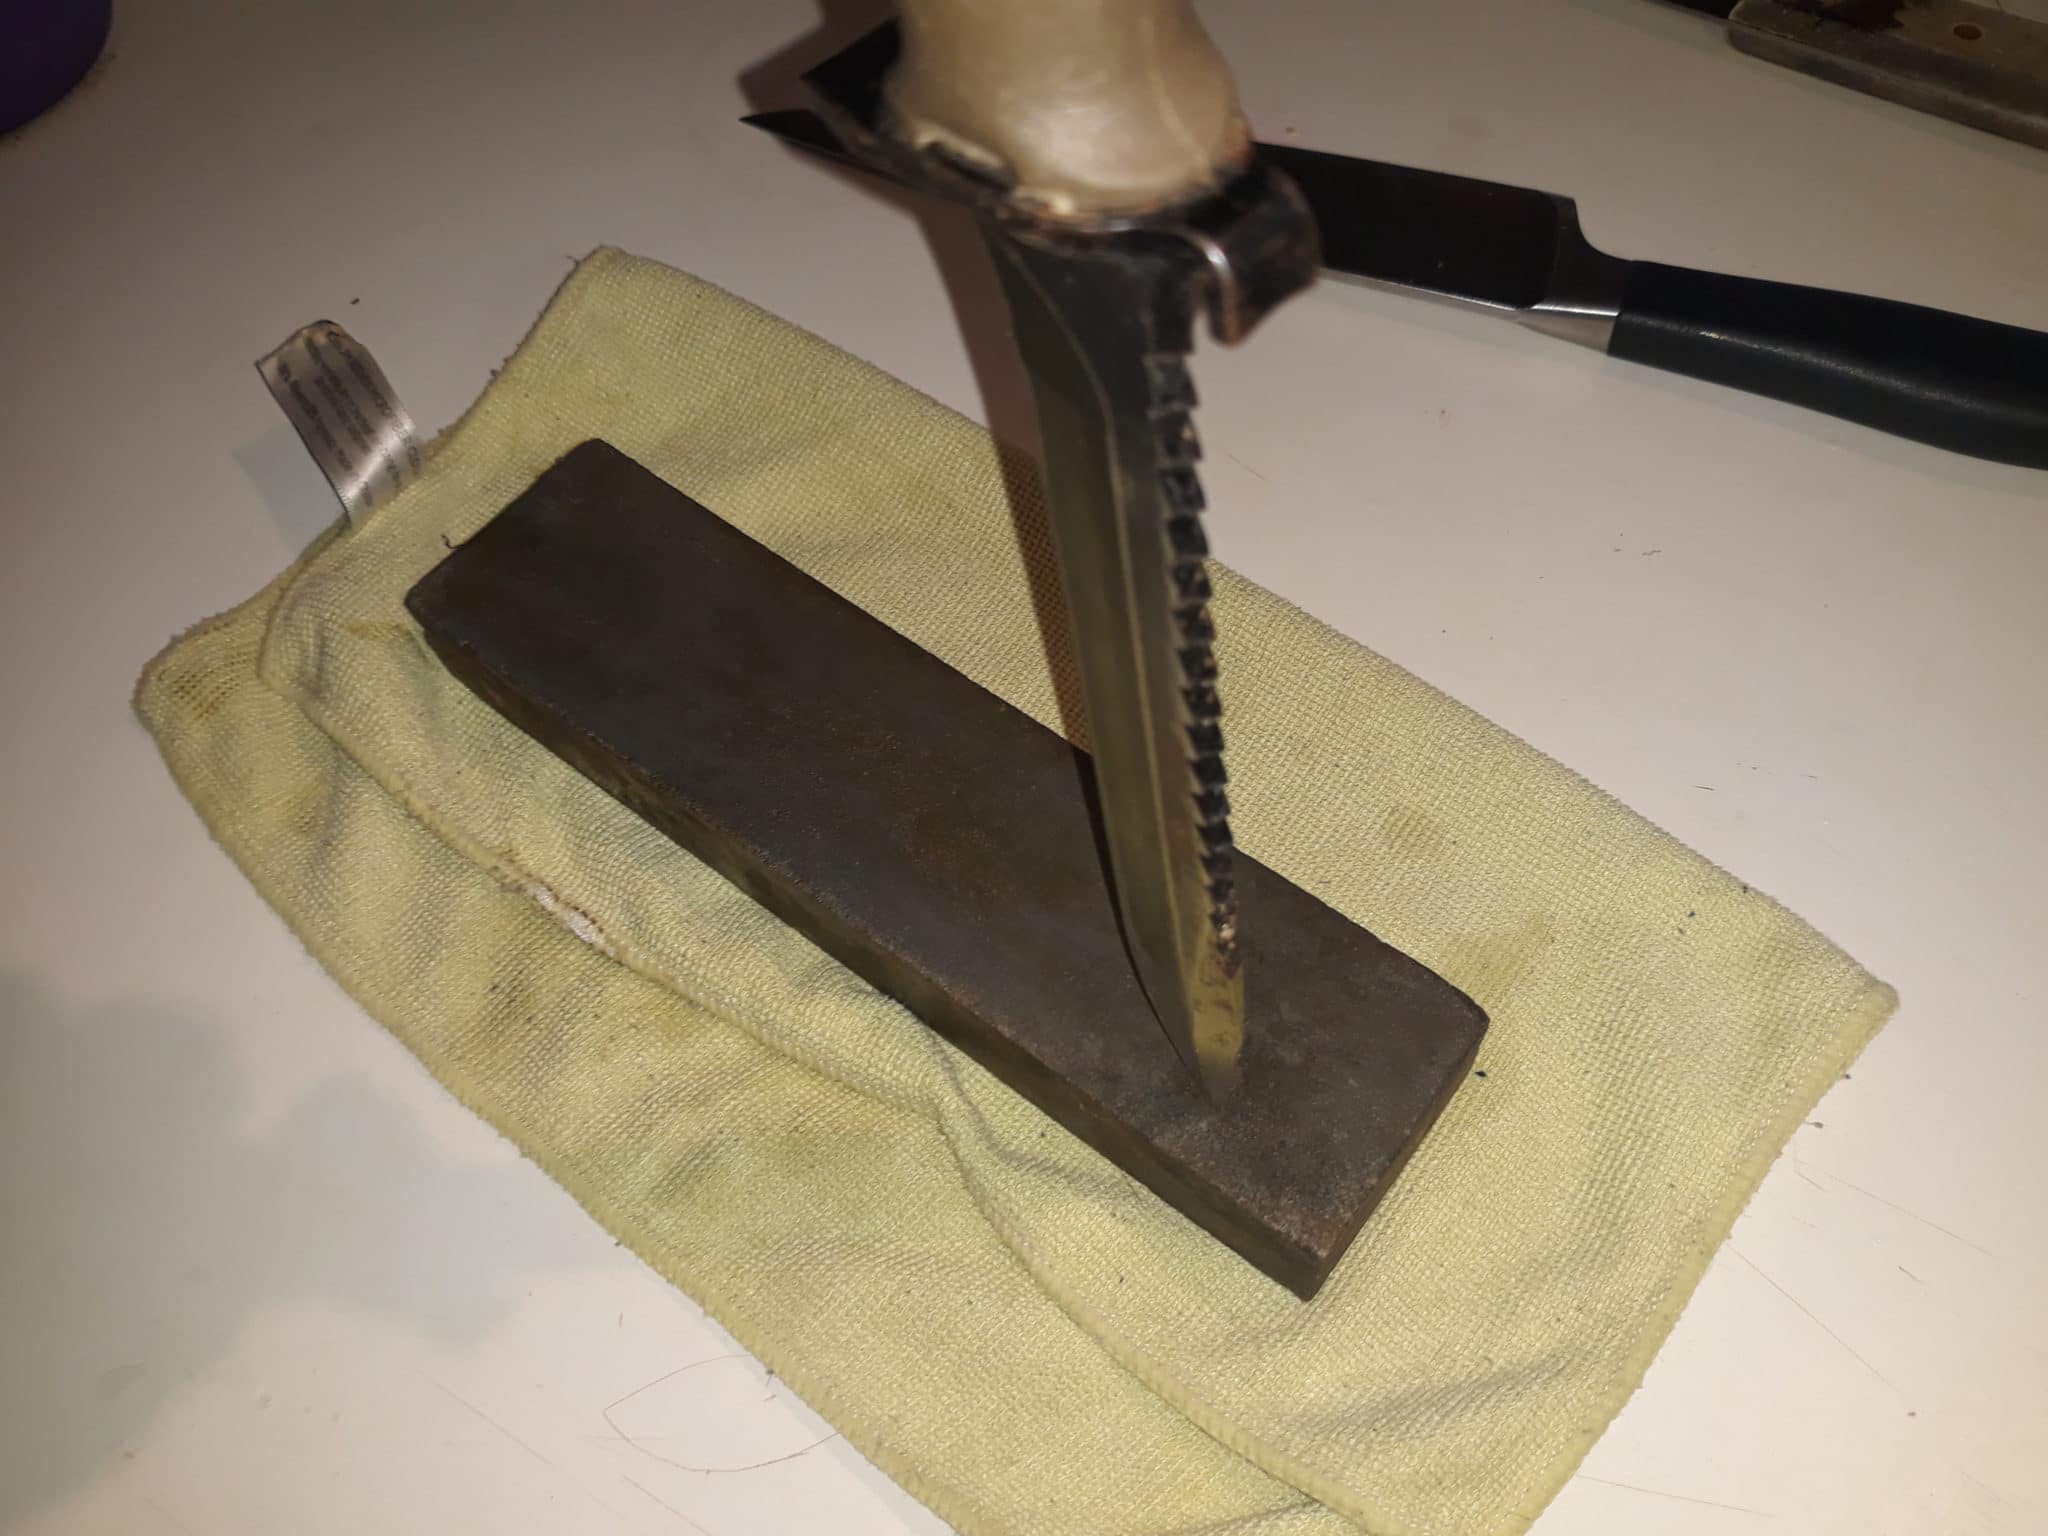
At this point, your knife is at a 90 degree to the stone. Now bring the knife blade about halfway closer to the stone. The handle of your knife should now be pointing at the top of the wall in your room. This will be 45 degrees-ish.
Cut your angle in half again and you will be close to 20 degrees. Again, it doesn’t have to be exact but you don’t want to be dragging your knife across a stone at 45 degrees or you will file off your current edge and start creating a new one!
STEP 4.)
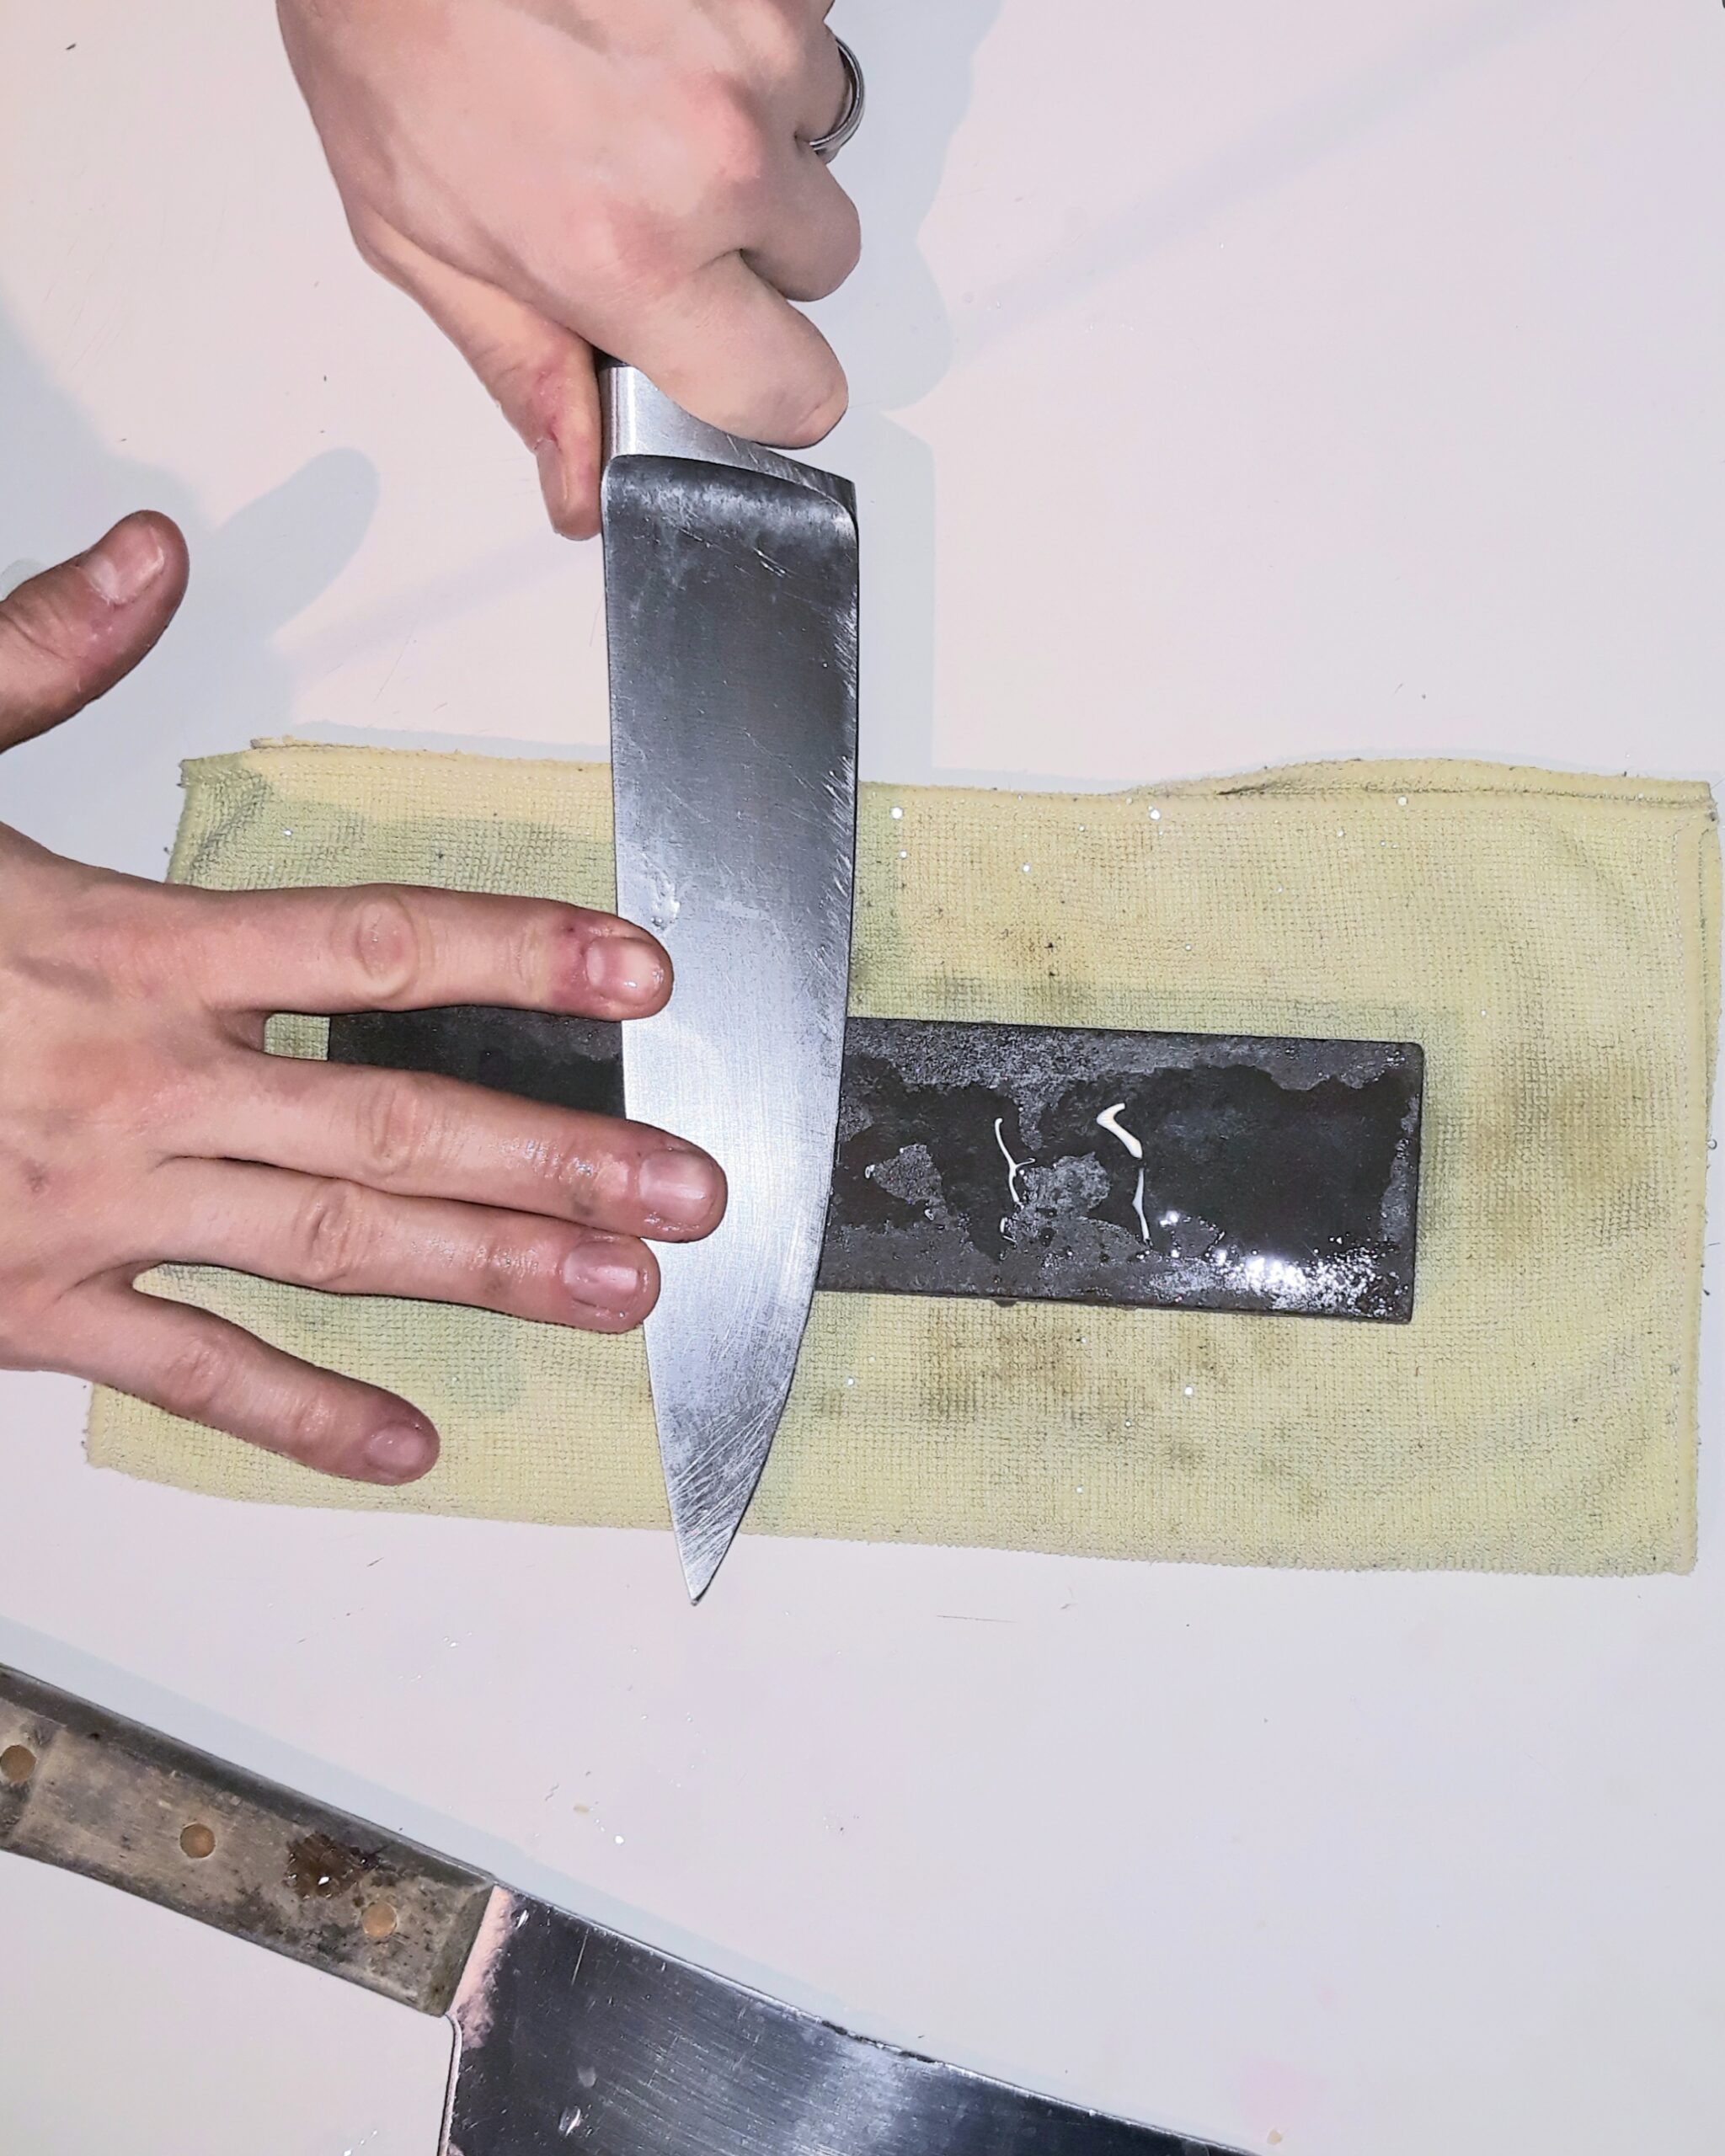
I like to grip the handle with one hand and place my fingers on the spine with my other hand. Now I drive the edge across the stone with some force. My first slice will be at the widest part of the blade.

I will work my way towards the point from there. Once I have hit all parts of that side of the edge its time to flip the blade and o the other side.
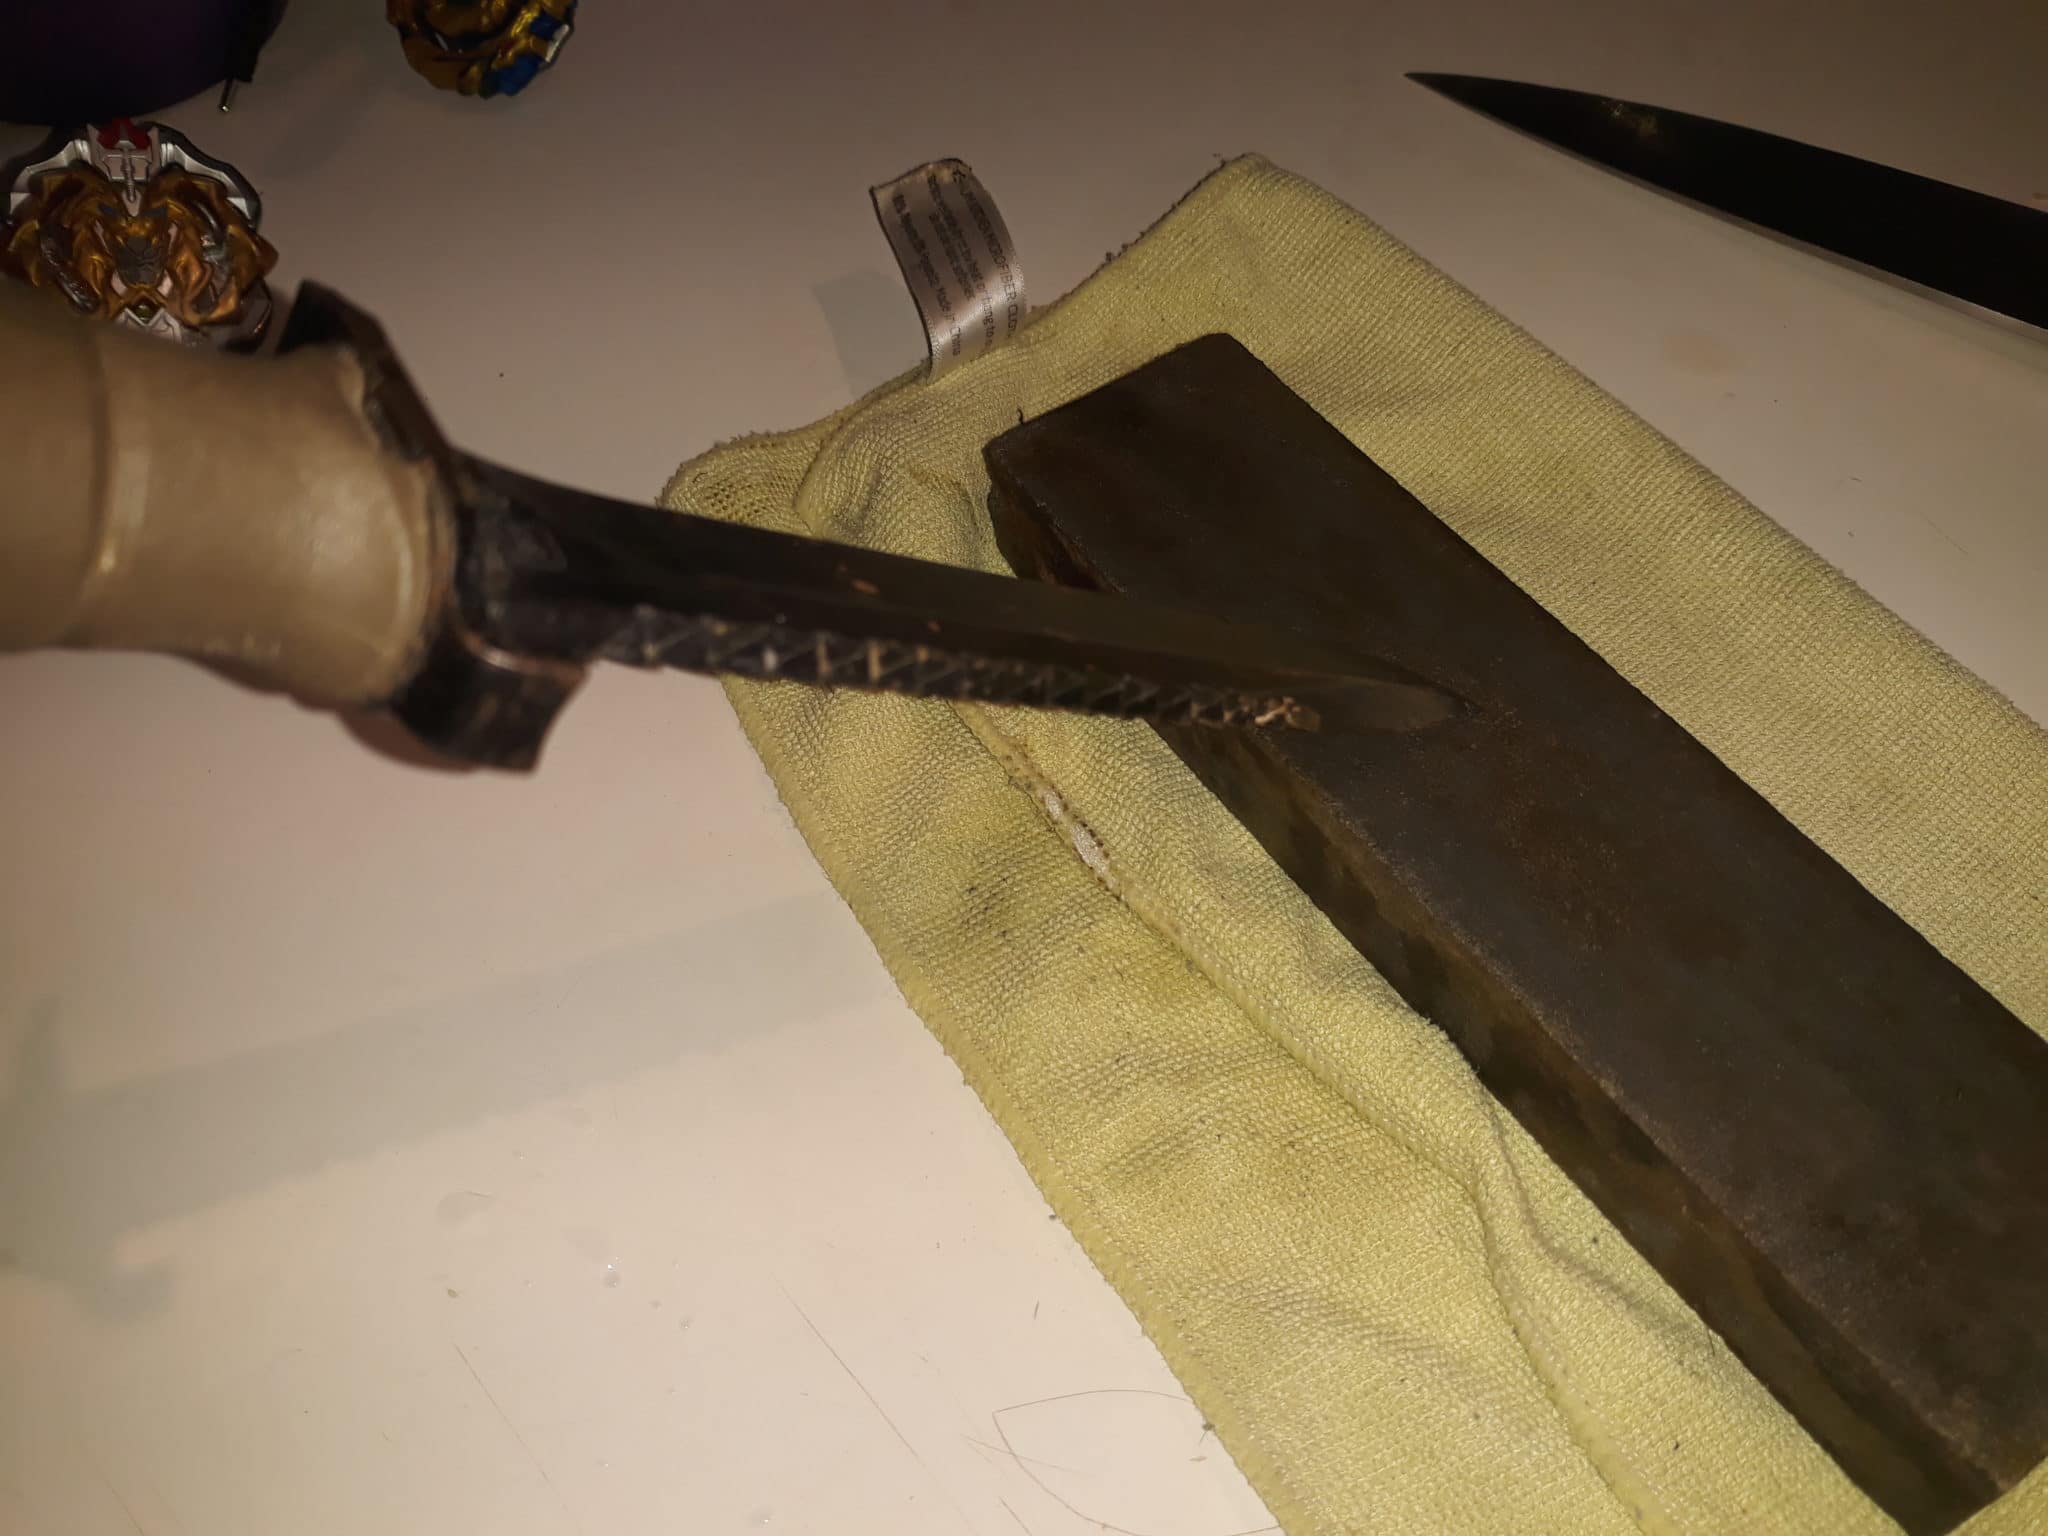
Take the handle in your opposite hand and, again, point the knife blade away from you. It is nearly impossible to get cut by a knife when the blade is facing away from you.
STEP 5.)
After several trips across the stone, on both sides, you have some options.
- Move to a finer grit stone
- Wipe the blade and check the edge
- Use a honing steel
If you are not happy with your edge at this point, it’s worth setting your angle again and doing a few more rounds on your stone.
The honing steel should wrap this process up and fine-tune that new edge. Though designed for chef knives, I use the honing steel on all my blades including things like axes!
STEP 6.)
You can play with your new blade by attempting to slice through paper or shave the hair from your arm. These are telltale signs that your edge is sharp.
More importantly, how are you going to store that blade now that you have taken the time to sharpen it. Are you going to drop your ax in a bucket of other tools or hang it?
Are you going to shove that chef’s knife into a drawer full of other metal that will bump and scrape your new edge? Sometimes storage of your sharpened edges does much more damage than actual use.
Upkeep and the Honing Steel
John Maier was about 350lbs. His tight curly hair sat atop a scrunched face that looked at his class of high school kids. He was a voted teacher for those of us who couldn’t bear to sit still for all 8 periods.
He wore a pristine white chef coat and was holding a sharpening steel in his right hand.
“This does not sharpen your knife! This will only hone the blade. It should be called a honing steel not a sharpening steel.”
We were all wet behind the ears so we just looked on with wide eyes and listened.
In front of a medium-sized Hobart mixer, he placed down the honing steel and placed his two hands together in front of him as though he would pray.
“This is your blade. With use, your blade will begin to give one way or the other. It could give to the left, and he bent the fingertips of both hands to the left, “or to the right. The honing steel will bring that edge back to where it started.”
Having a collection of many grit stones can go a long way in sharpening that blade of yours. Though I have spent less time and had more success using the honing steel than sweating over a sharpening stone.
That is not to say that the stone is not essential, you have to have one. However, you don’t have to jump right into grinding the edge of your tool or knife. It can often be brought back to life with a few swipes on either side of the steel.
We would use a descending method on the steel that tamed even the most stubborn edges.
- 3 swipes on both sides of the steel
- 2 swipes on both sides of the steel
- 1 on both sides of the steel
If you cannot get a sharpened edge using this method it is time to reach for those reliable stones.
Sharpening Day
At our house, I keep blades sharp by gathering them all and making a day of it. Its sharpening day and it allows me to gather a few important tools. Including stones, steels and even some cheaper sharpening devices that I simply cannot seem to live without.
Everything from pairing knives to survival knives, tomahawks to machetes; they all go through the process mentioned above and then we have an arsenal of sharpened tools.
I prefer a sharpening day over isolating one blade at a time for sharpening. It seems to be the most time-efficient means of taking care of these blades. Chances are you will come across blades that only need a few swipes on the honing steel. You might not even touch a blade that you haven’t used since the last sharpening day.
It happens.
Either way, you will know that all of your knives and tools are sharp so you don’t have to sharpen on the fly. I think the number one issue that people struggle with when it comes to sharpening knives using stones, is that they don’t give themselves the time to learn about the blades and the stone.
That was always my big struggle. As a chef I so rarely prioritized sharpening. It was a chore for me. Most people just gotta get dinner done but the dull knife is making it hard. Make sharpening a priority and a skill that requires practice.
In fact, we are due a sharpening day here at home!
Conclusion
2.6 million years ago we first started making stone tools. The earliest of these stone tools make up Oldowan toolkit. The creation of this toolkit and its parts and pieces are undoubtedly part of the reason we have arrived at this point in the 21st century.
Source: //humanorigins.si.edu/evidence/behavior/stone-tools/early-stone-age-tools
This toolkit would have contained
- Hammer Stones
- Stone Cores
- Sharp Stone Flakes
Those sharp stone flakes were the first cutting tools of our people. These were the first iteration of a survival knife like a Morakniv. I cannot think of a better way to argue the importance of a sharp knife for survival than the Oldowan toolkit.
While stone flakes cannot be sharpened, high carbon steel can. Now its time to grab your own sharpening stone and put these techniques to use. Sharpening stones are great preps and having more than one is not a bad idea.
I will warn you, I have seen several chefs go into a trancelike state attempting to make their knife-edge sharper and sharper and sharper still! It can become a bit of a game and then an obsession if you are not careful.
Preparing for a pandemic or a dinner party, the well-edged knife is a great ally.
Oil, water or diamond, the choice of sharpening stone is yours. Just remember, you are practicing a skill that could one day be a great means of barter or trade-in a survival situation.


3 Responses to “How To Use A Sharpening Stone”
What about leather strops?
I have a random stone I found, how do I know if it is an oil or water stone?
I picked up some sharpening stones at an estate sale and from reading this article I realize that I have no idea which is which. How do I determine whether a stone is oil or water? Thank you for your time